Create Welcome Screen For Macs and iOS Devices from Setup Assistant with Mosyle

When I started working here in 2021, majority of the staff were using Apple devices (Macs, iPads, etc) but there was no MDM (Mobile Device Management) in place so you can imagine, it was difficult to keep track of what devices we have an to whom it was assigned. I came from a Jamf environment at my previous workplace so that was the first thing that came to mind to implement but, I wanted to do my due diligence and see what else was out there. So, after a little bit of research, and through several recommendations from the kind folks who were attending the Church IT Network National Conference, we landed with Mosyle.
There were several purposes for getting an MDM—Getting a good inventory of what devices were out in the wild, get a sense of how old those devices are for lifecycle management, and to automate the process and make it a zero-touch deployment. This was where the welcome screen, campus-based software/printer deployments and an EULA come in.
Add a "Welcome Screen"
On your Mosyle dashboard, go to Organization>Enrollment>Automated Device Enrollment. Choose the Automated Device Enrollment Profile you want to use, scroll down to Customize Setup Assistant (Available only for macOS 10.15+). Create your welcome screen.

Add a Campus-Based Software/Printer Deployment Attribute
From the welcome screen, click on the "+" (plus) icon and choose Set a device attribute. I use tags to set device groups and those device groups are campus based and then assign printers and software based on the device groups.
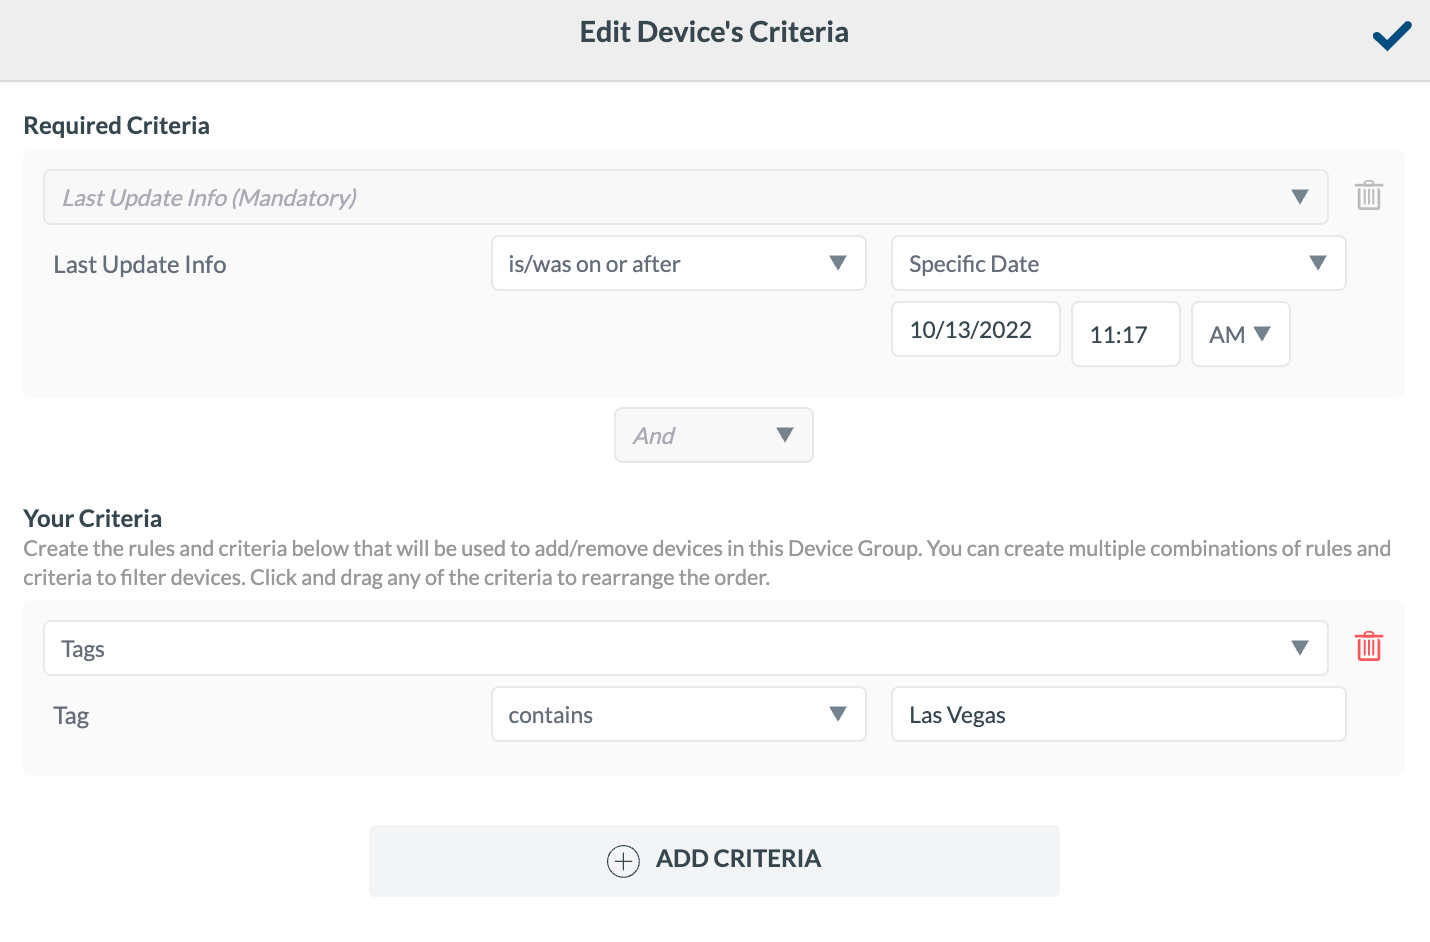
To add the devices to a devices group based on tags. Go to Device Group>Choose or create the group you want tagged devices to be added to. Click Select under Device's Criteria to add devices to this Group. Under "Your Criteria" choose Tags, then "Contains" and in my case, it's <Campus Location>. Click the check mark when done. And then hit the Save button.

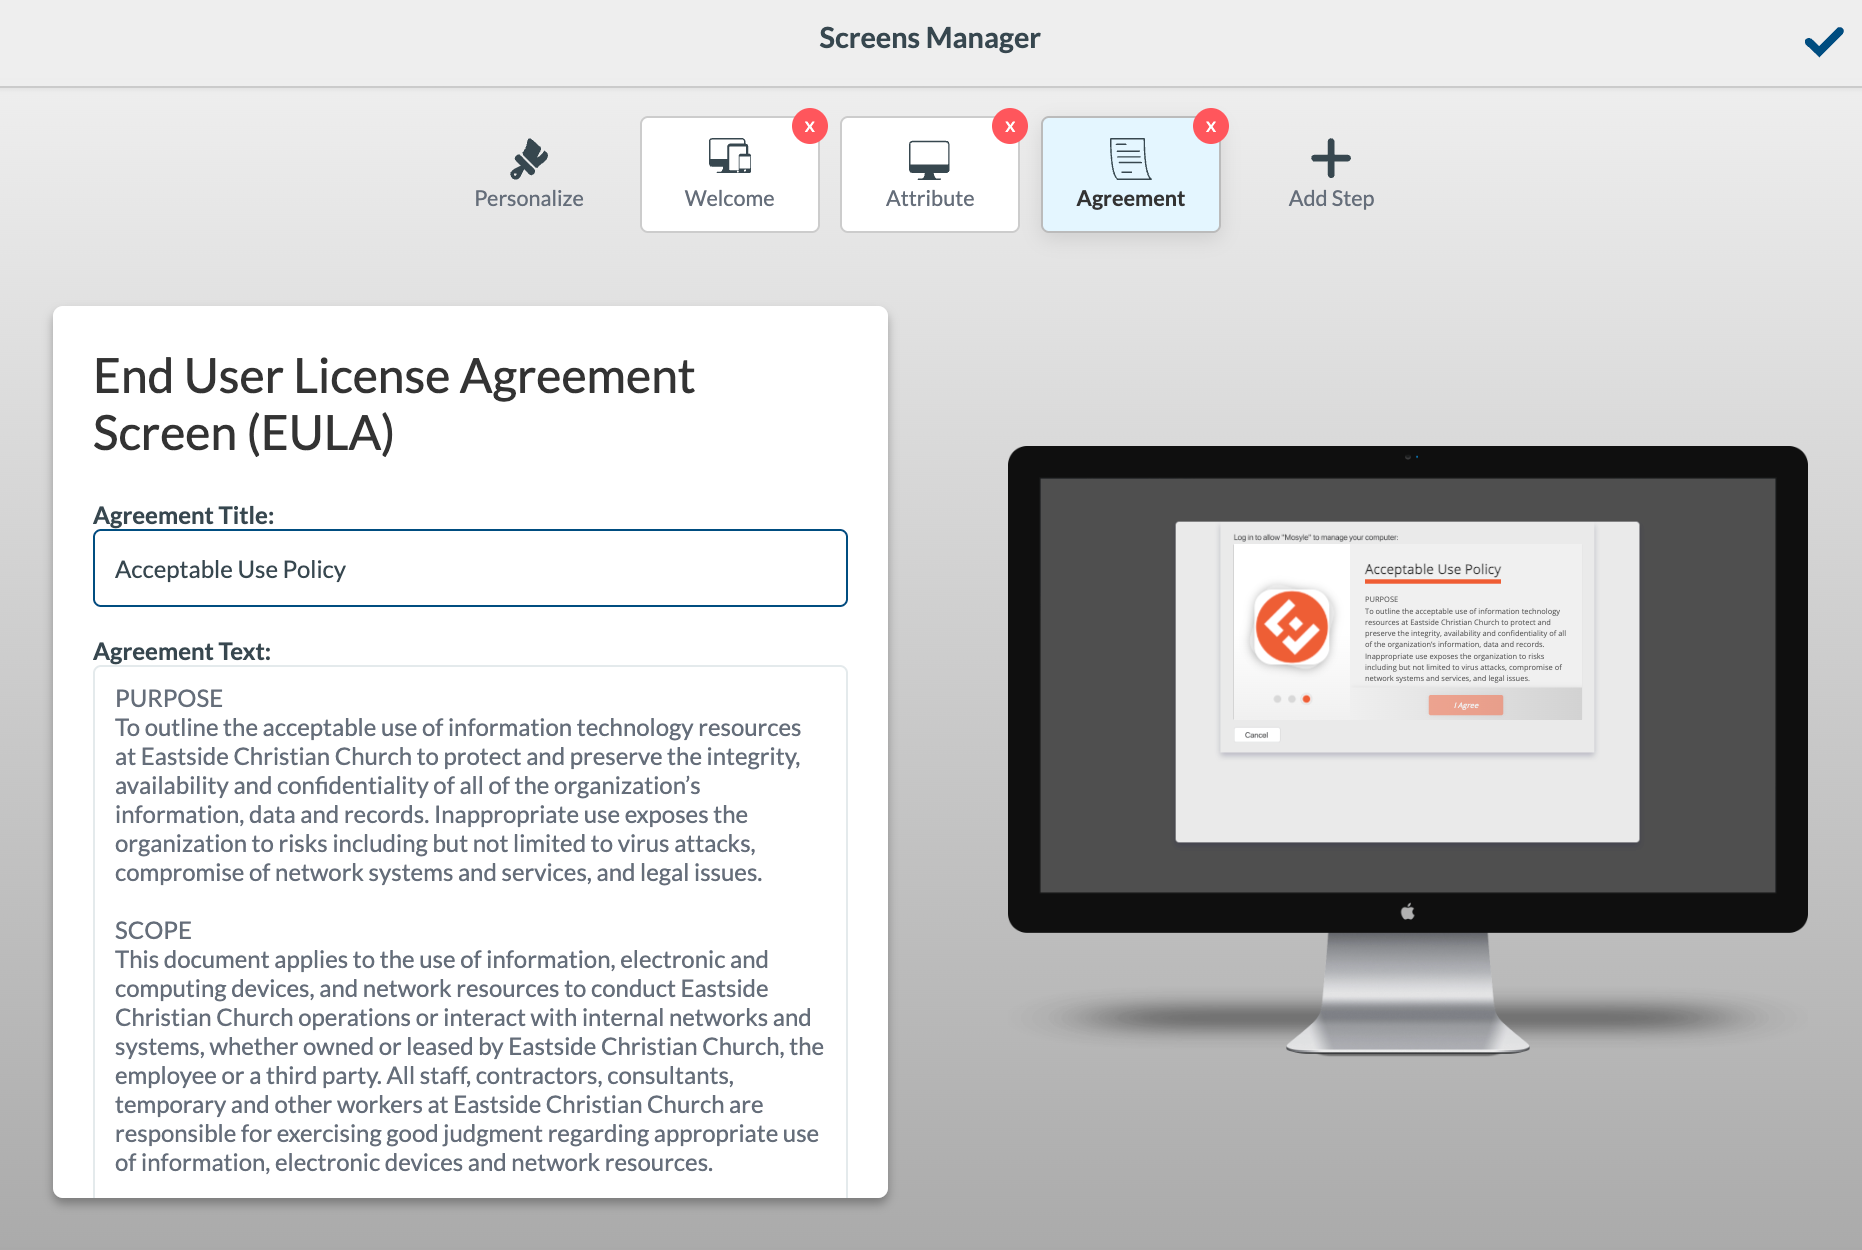
Add An "End User Agreement" Screen
Finally, to add an EULA, click on the "+" (plus) icon again and choose End User License Agreement Screen (EULA). Here you can add the Agreement Title and the contents of that Agreement.